
The Original Manufacturer Of LED lighting
 RioTinto
  2026-07-10
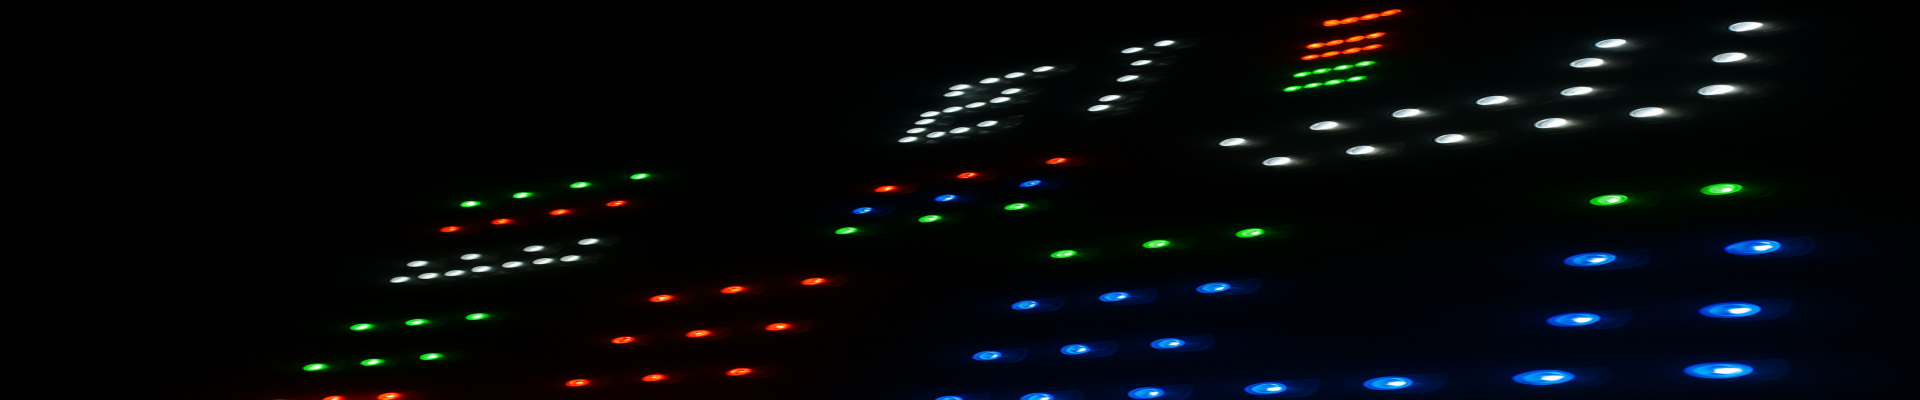
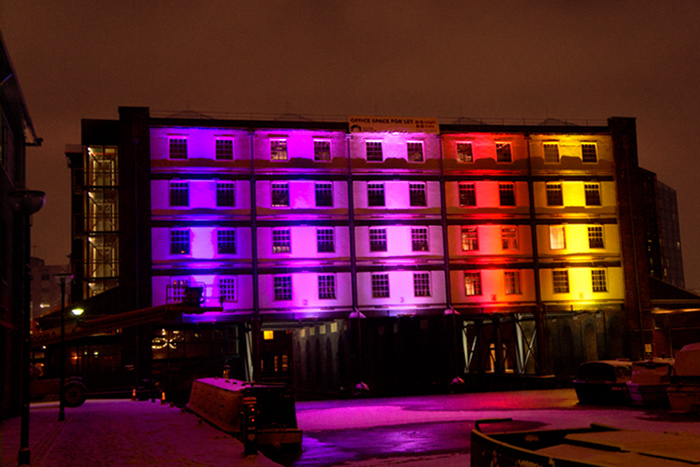
The elegant dance of DMX512 RGBW LED Wall Washer and Flood light, orchestrated across a building, is often orchestrated by the unseen hand of DMX—Digital Multiplex. This isn't just about connecting lights; it's about weaving a tapestry of illumination, a symphony of color and shadow, each strand meticulously connected. Let's delve into the art of DMX wiring, revealing the meticulous detail behind this powerful system.
Gather Equipment:
First, gather your ensemble. You'll need the stars of the show—your DMX-compatible lighting fixtures, each a vibrant instrument in our luminous orchestra. Then, the conductor: your DMX controller, the heart of the system, dictating the rhythm and intensity of the light. Next, the connecting threads: DMX cables, typically 3-pin or 5-pin cables. Think of these as the nerves of the system, transmitting the vital signals. Finally, for a perfectly harmonious performance, you'll need terminators. These are crucial for the last device in your chain, ensuring the signal doesn't get lost in the ether, like a fading note at the end of a beautiful melody.
DMX Cable:
The choice between 3-pin and 5-pin cables might seem minor, yet it speaks volumes about the sophistication of your setup. While 5-pin cables offer the potential for more intricate control, encompassing additional data channels, the graceful simplicity of 3-pin cables suffices for most systems. However, it's paramount to use cables explicitly designed for DMX. Standard microphone cables, though seemingly similar, lack the robust signal integrity required for DMX, potentially leading to dropped signals, flickering lights, and a performance marred by technical glitches—a jarring discord in our otherwise harmonious symphony.
Controller to First Fixture:
Connecting the controller to the first fixture is the pivotal moment, the first note played in our light symphony. Imagine the controller as a skilled conductor, poised with baton in hand, ready to unleash the potential of the orchestra. The DMX output on your controller—the conductor's baton—connects directly to the DMX input of your first lighting fixture. This connection isn't just a physical link; it's the initiation of a conversation, a digital dialogue that will paint the stage with vibrant hues and dynamic patterns.
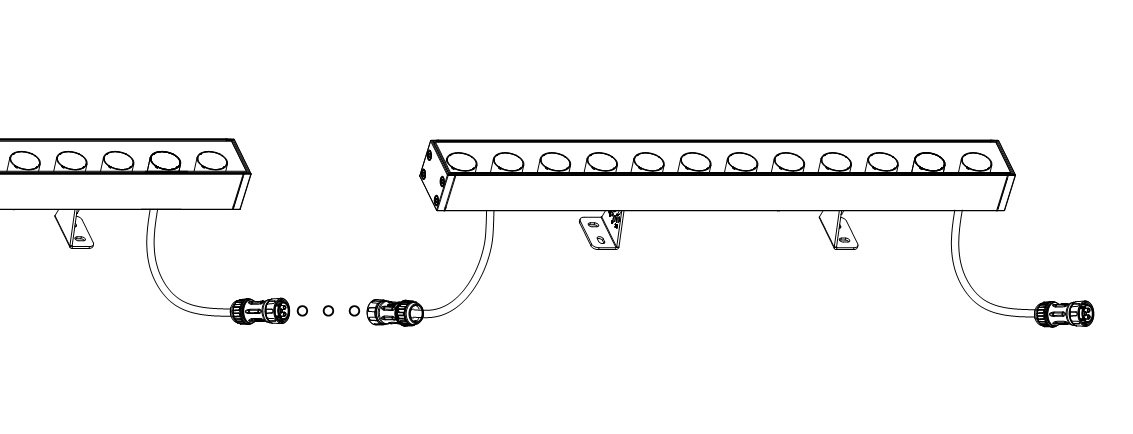
Fixture to Fixture: To control multiple devices, connect the DMX output of the first fixture to the DMX input of the next one. Continue this “daisy-chaining” process until all devices are connected.
Termination: Preventing Signal Echoes
While daisy-chaining is efficient, longer DMX runs can be prone to signal reflection, akin to echoes in a large hall. These reflections can interfere with the crisp, clear signal, causing erratic behavior in your fixtures. To mitigate this, a 120-ohm terminator—a small resistor—is placed at the very end of the DMX chain. This resistor acts as a buffer, absorbing the reflected signal and preventing it from corrupting the data stream. Think of it as a gentle hush, silencing the echoes and ensuring the digital whispers of light reach their destination unimpeded. The necessity of a terminator depends on the length of your chain; generally, chains with more than three fixtures benefit significantly from its inclusion. However, it's often a good practice to always use a terminator to ensure the highest signal fidelity.
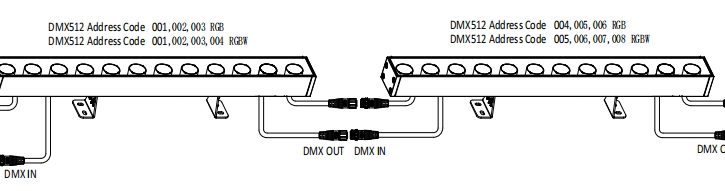
Addressing Your Lights: A Symphony of Unique Identities
Each fixture within your DMX universe must possess a unique address, like a personal identification number in a bustling city. This address acts as a postal code for light, ensuring that each command from your controller reaches its intended recipient. Failing to assign unique addresses will lead to a chaotic blend of colors and effects, a discordant symphony of light. Each fixture typically has onboard controls or a digital display allowing you to set its address. Carefully consult your fixture's manual to understand its specific addressing mechanism; it’s crucial to avoid any address conflicts. Imagine a city where every house had the same number – utter pandemonium! Similarly, assigning duplicate DMX addresses will bring your lighting system to a grinding halt.
Testing: Once everything is wired, power up the system and test it with your controller. Ensure each light responds to the controller’s commands.
DMX wiring isn't merely a technical process; it's an art form, requiring both technical precision and artistic vision. It's about understanding the intricacies of the system, selecting the right components, and making the connections with care and attention to detail. Mastering DMX wiring is akin to mastering an instrument; it's a journey of learning, practice, and the eventual ability to create breathtaking spectacles that captivate and inspire.
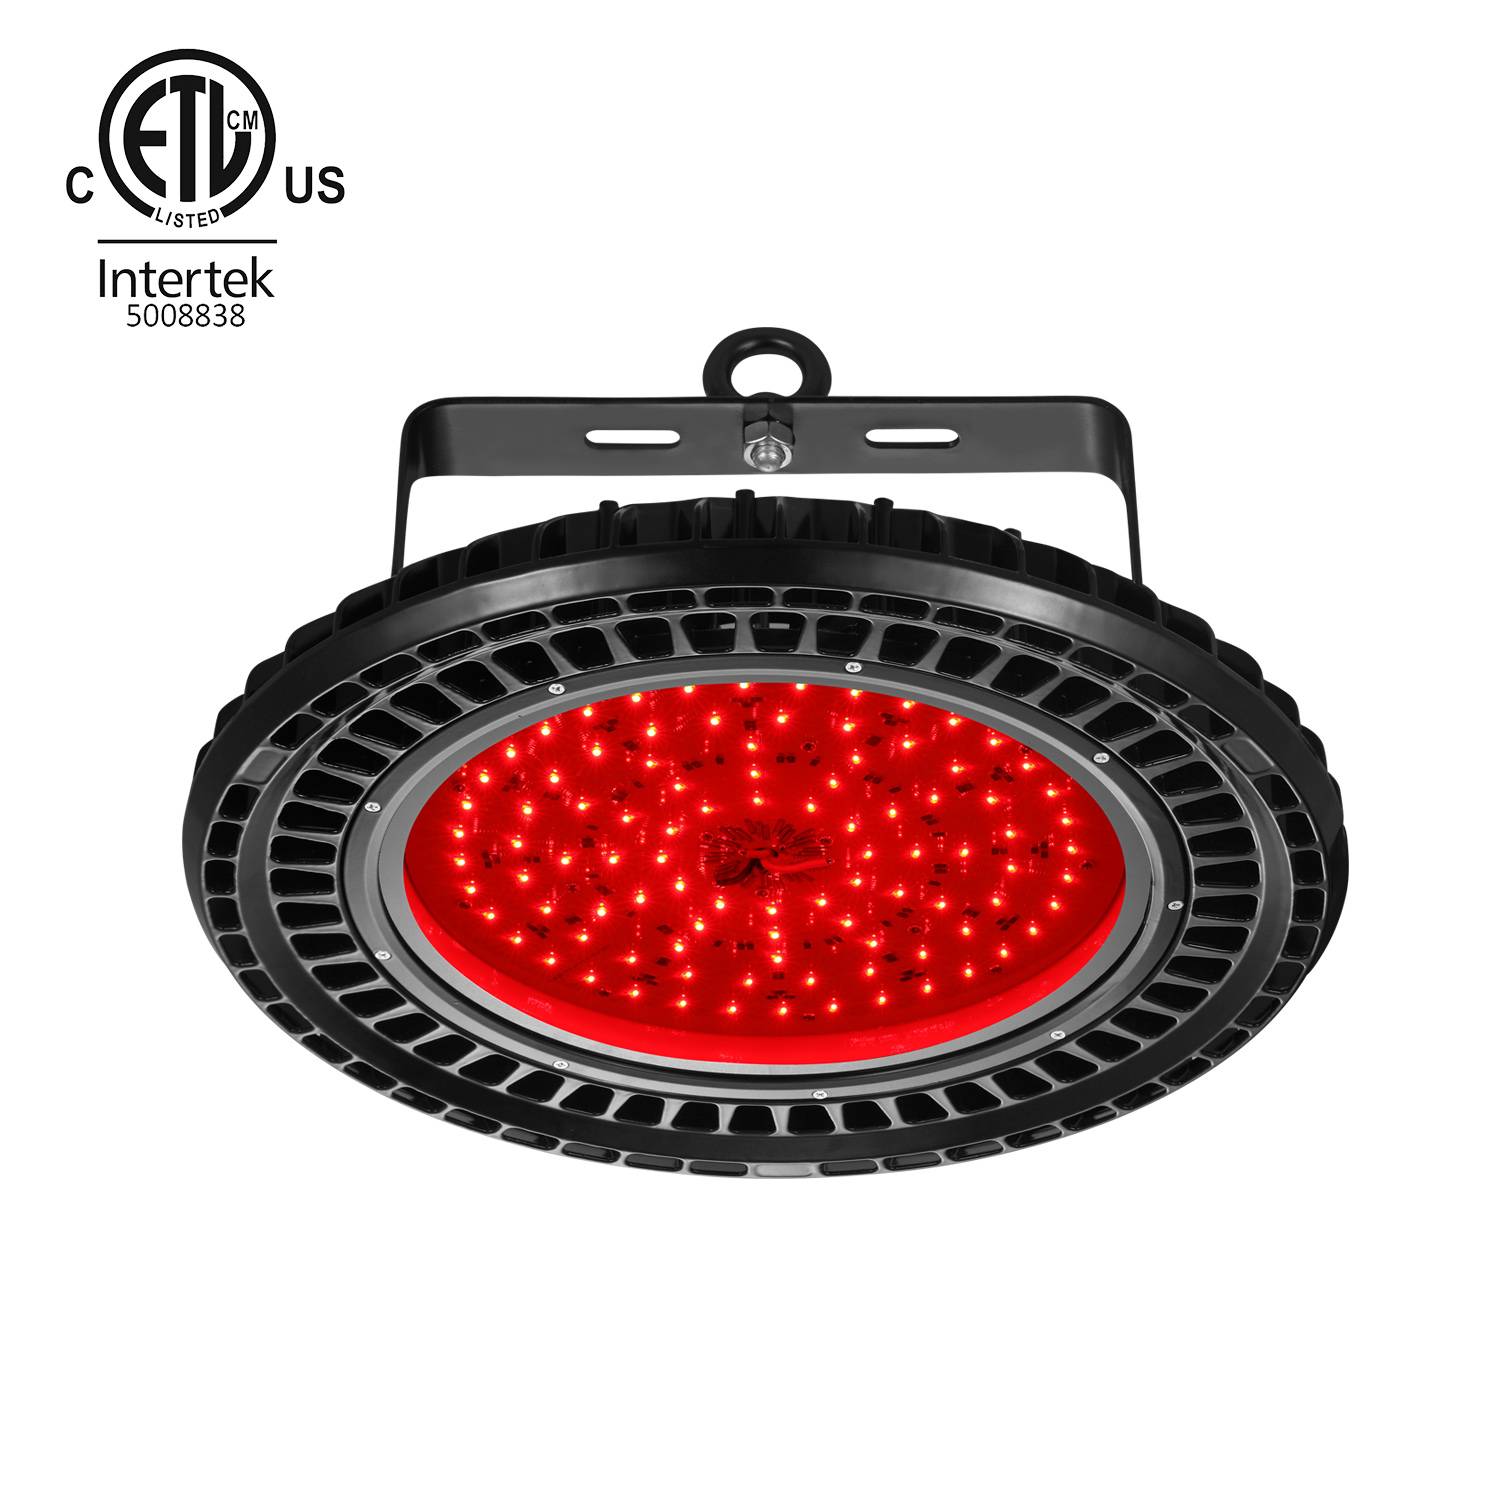
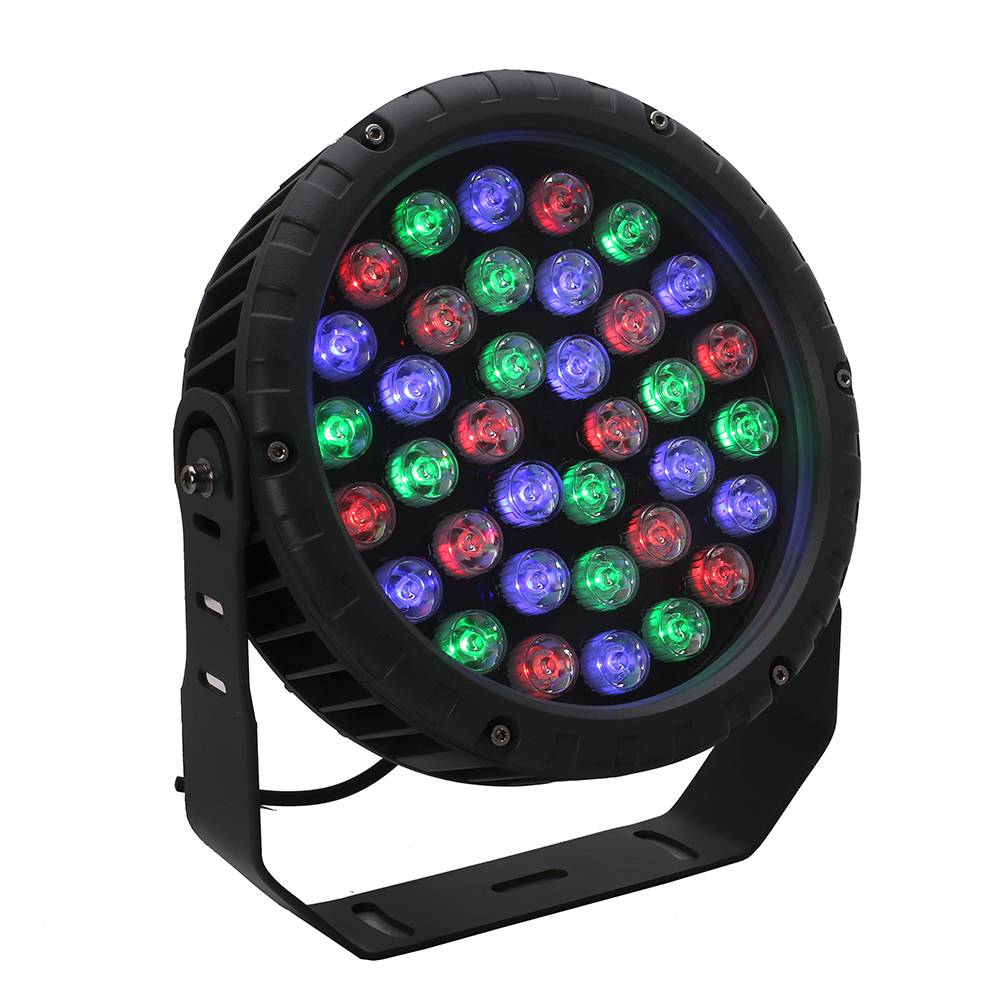
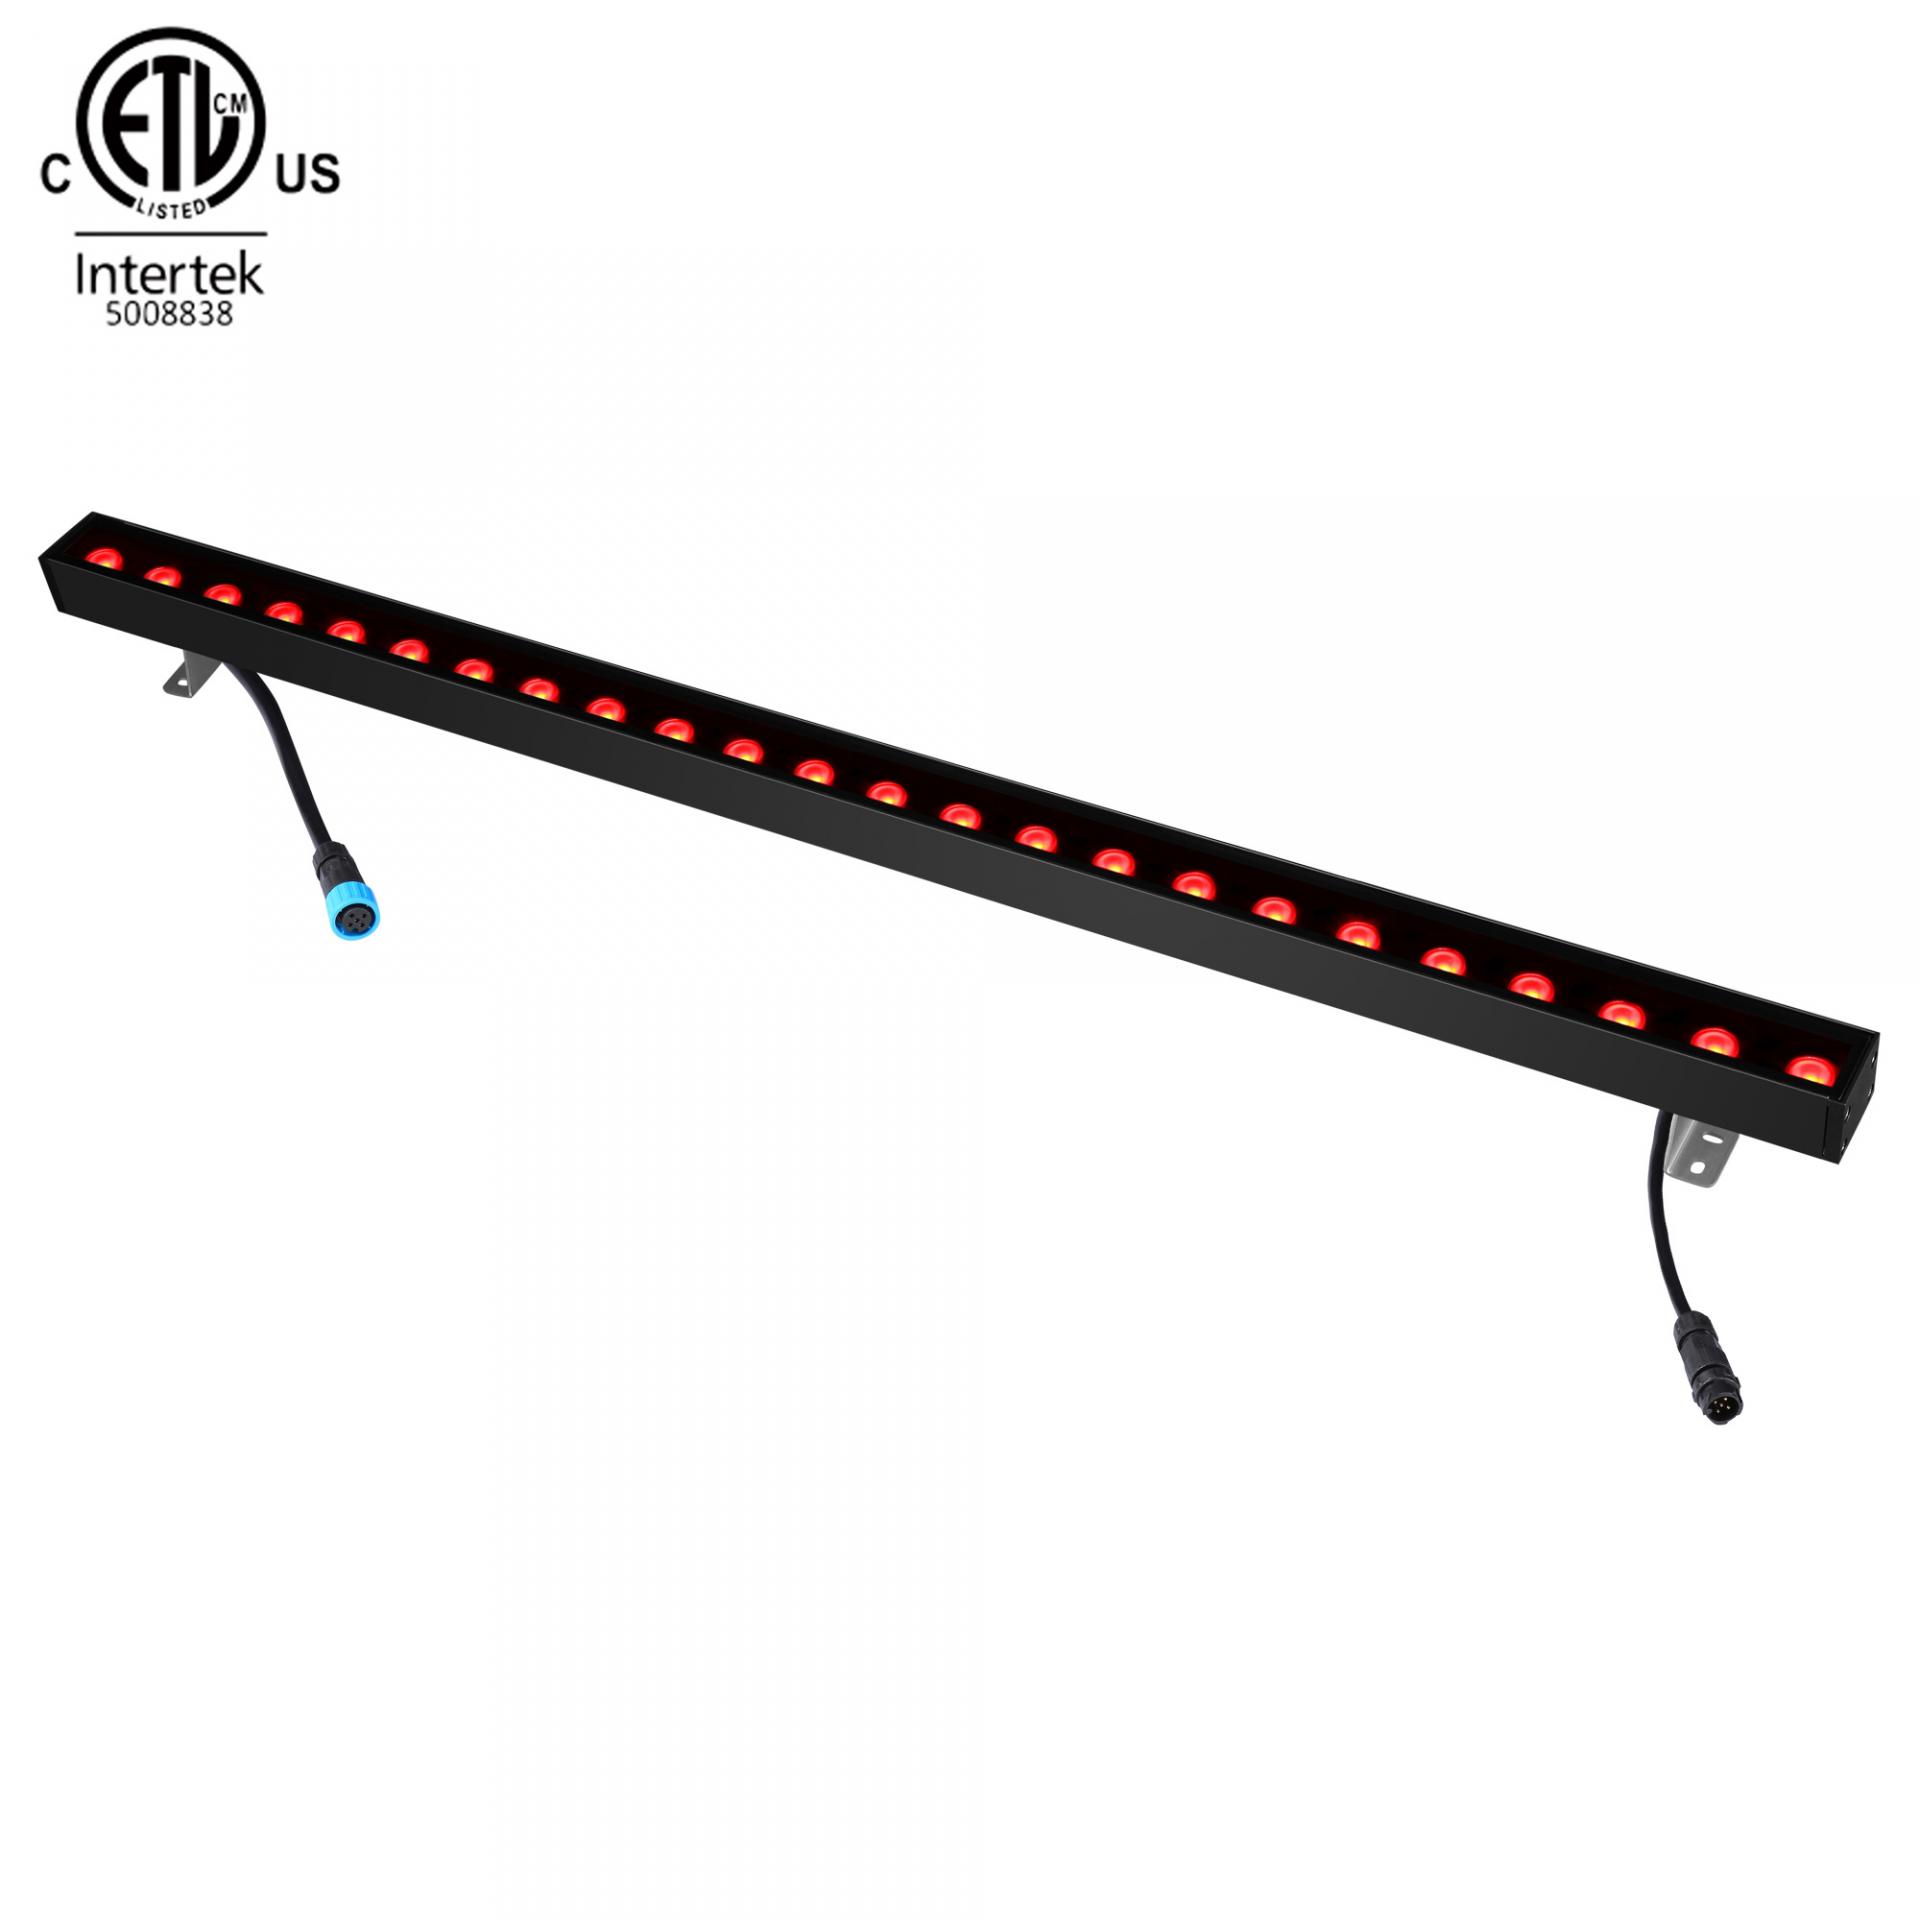
Rio Tinto ETL Listed DMX RGBW wall washer, DMX RGBW LED flood light, DMX RGBW UFO high bay and other DMX RGBW lighting solutions will enrich your life and buildings.
 SZRIOTINTO-LIGHTING COMPANY
Welcome to SZriotinto , your source for all illumination solutions.
We're dedicated to giving you the very best of outdoor lighting experience, with a focus on illumination design, lighting planing and executing of the lighting projects.


Creating value for our customers is our top priority. We listen, we care, we deliver.
 sales@szriotinto.com
  +86-13928499082
 5F and 8F 10Building, Hongtianmao industrial park, Gongming Town, Guangming District, Shenzhen China